The RV shower system is one of those things that we should never take for granted. Living in an RV doesn’t just allow you to sleep on your own bed, but you get a shower too. No need to use public bathrooms as you’ve got one ready.
The shower is one of the amenities in an RV that is often ignored or taken for granted until it no longer works the way we expect. But what could go wrong with an RV shower? Well you could end up using too much water or some components break down. In this guide I’ll show you how to maximize use of your shower.
10 Things on RV shower system
But while showers obviously are important, there’s a lot that new RVers may not know about them. If you want to know to have the ultimate guide to your RV shower system you’re in the right place.
1. RV Showers aren’t Small
Since space is at a premium in RVs, there is this impression that showers are cramped. Granted it’s not as large as the one in your home, but it is not as tight as some may lead you to believe. There is more than enough space for you to shower in comfort.
Will it take some getting use to? Yes if you’re used to a large shower at home. But it is a good idea to get accustomed to this as I will show here. And if you don’t take too long to shower and use a small shower at home, then there is no need to worry about the adjustment period.
2. How to Shower in an RV?
Showering in an RV is the same as in your home, the only difference is you’re using water from your freshwater tank. While you should enjoy your time in the shower, do keep in mind that you’ll need to replace those.
Most RVs have 6 to 10 gallons of water for the heater. Compared that to home heaters that have 40 to 50 gallons, but it’s unlikely you’ll use it all up before getting a refill.
As for the specifics of showering you just wash yourself, wet your hair and body, shampoo, soap, rinse and you’re done. That’s all there is to it. If you don’t take a long time in the shower at home then there is very little need to adjust. If you’re used to long leisurely showers, the RV experience will show that it is possible to shower with limited supply.
Everyone has their own way of showering so feel free to follow that. I am just pointing out that you need to be more mindful of the water, but really it’s something all of us should be doing.
3. RV Shower Heads
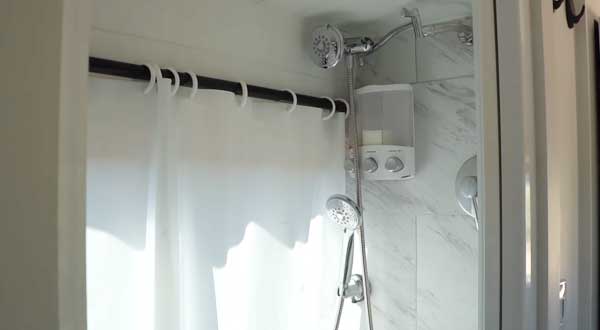
Make sure you’ve got a shower head that is designed for RVs. These heads optimize water use but still provide sufficient pressure. A shutoff valve is an important feature as it allows you to turn the water flow off without having to reset the temperature. If the valve is on the shower head that is even better since it’s very accessible.
If you’re not happy with the shower head on your RV, you can buy a new one and install it easily. You just remove the screws on your current shower head and install the new one. There are a lot of shower heads to choose from so you don’t have to settle for a mediocre one.
Buying shower heads is no different from buying other shower parts. You have to be certain the one you buy is compatible with your shower system. Buy only from a reputable company and you should be all right.
4. RV Shower Pans
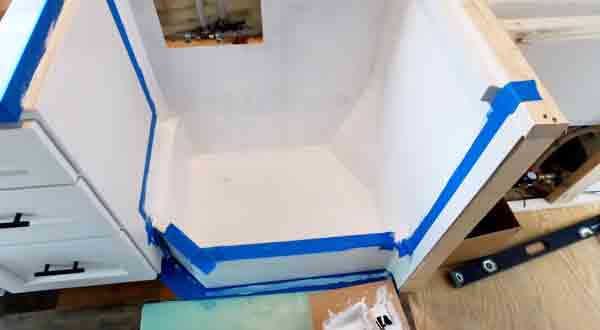
A shower pan is designed to keep water from going all around your rig. That is why the lip is high enough so water doesn’t spill out even when you move your feet. The pan also directs the water to go into the drain.
A well designed shower pan has a nonslip surface. If the surface still feels a bit slippery you can purchase grip stickers designed specifically for these pans. Modern pans are made of acrylic or fiberglass while older ones ceramic or coated metal.
Shower pans should last your RV’s lifetime if handled properly. Small holes or cracks may appear over time but they’re easy to repair. If you need to replace the pan it’s possible though it takes time.
Shower pans don’t get a lot of attention but they’re an integral part of the shower experience. It is the component that is going to keep the water from leaking all over the place and save you the trouble of cleaning it up later on. It is one of those features in an RV that you should inspect every now and then given the role it plays.
5. RV Shower Skylights
New trailers and RVs have skylights in the bathroom. This has two purposes, to provide more headroom for tall people and to bring in more light. More and more RVs have this feature as it provides extra illumination and warmth when it’s cold.
Skylights are made of plastic so it’s going to wear down and eventually need a replacement. If you’ve got tools and some DIY experience this shouldn’t be a problem.
To install a new skylight, check the dimensions and specs of the current one. Use that as a guide to help you find a new one. Once you’ve got the new skylight follow these steps to install it.
- Look for any interior screws on the skylight and remove them.
- Climb on top of your RV. Use a putty knife to scrape the sealant.
- Use a screwdriver to remove the screws.
- Take out the skylight and line the edge of the opening with butyl tape.
- If necessary, use drilling screws to align the holes for the new skylight.
- Put the new skylight in position and screw it on.
- Apply sealant over the screws and along the edges for leak prevention.
- Go back in your rig and apply any necessary interior screws.
At this point you’re probably wondering if a skylight is worth it. For a lot of RVers the answer is yes. The amount of sunlight a skylight brings in is significant, and if you don’t like showering in the dark it’s a relief. Sure you can install extra light, but why bother if you’ve got a skylight?
6. Cleaning RV Shower System
Keeping your RV shower clean is necessary to prevent clogging and ensure optimum performance. I would recommend cleaning the shower after each use rather than wait weeks or months to clean it. This may seem like an inconvenience but it’s more effective and easier than wait for it to get really dirty.
Cleaning right away is also the best way to prevent mildew and mold. A smooth shower surface is easily cleaned with with a squeegee. Just keep that squeegee in the shower so you can clean right away. Once you’re done with the squeegee, get a clean towel and use that to wipe off the remaining wet spots.
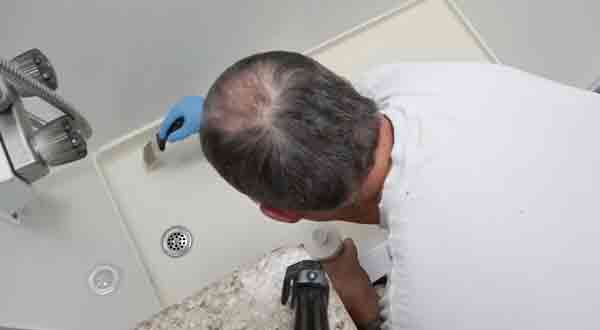
A frequently used shower may still need a thorough cleaning once a month. Use only soft cloths and brushes that won’t damage the surface. Read the product description and you’ll know if the material is suitable for your bathroom floor.
If you’re not sure, take note of the floor’s surface composition. This will tell you what type of cleaning material is suitable for it. This is where the benefits of cleaning after each use becomes apparent. You don’t need to do extensive cleaning since it isn’t that dirty.
The need to keep the shower clean cannot be overemphasized. It becomes even more so if the commode and the shower are in the same location. Obviously for sanitary reasons you have to keep the shower and toilet clean. But that is not the only reason as you also want to keep the floor dry to avoid accidents.
When it’s time to do a comprehensive cleaning you’ll need to be ready with the materials I mentioned above. You can also use dryer sheets. Just damp them a little and it should do a good job in cleaning the whole thing.
7. RV Showering Tips
- If space allows, install a suction cup style toiletry holder in the shower so you can hang your bathing products there. Clean this holder on a regular basis.
- Schedule a thorough clean up of your bathroom when your rig is connected too a campground water supply. This way you don’t have to worry about using up all your water.
- RVs usually just have a curtain, but there’s enough room for a door if you want one installed.
- If your shower has an electric fan, or you’ve got a portable fan, use it to dry the shower.
- Check the wiring connections every now and then. The best time to do is when you park your RV. Take the break as an opportunity to go over each part and ensure everything in the shower – and your rig – is all right.
8. Hoses and Fixtures
If your shower head is of the wand variety, there is a hose linking to the water supply. This hose is made of either stainless steel or plastic. Plastic is cheaper while stainless steel is more durable.
No matter what type you choose, make sure it allows you to adjust hot and cold water to the level you want. If you’re happy with fixtures in your home, you may be able to install those on your RV. If the fixture isn’t too large it should fit nicely.
9. RV Shower Replacement
You can replace individual RV shower system parts. But if the walls are deteriorating it’s better to replace the whole thing. Measure the dimensions of the walls so you’ll know the exact size when you need to buy.
To replace a shower:
- Shut down the RV water supply.
- Turn the water pump off and disconnect.
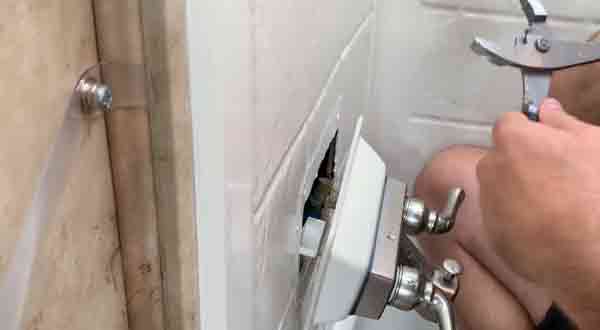
- Look for the shower access panel and disconnect everything linked to the pipes.
- Remove the shower. It’s going to be held in place by adhesive, brackets or trim. Use the appropriate tools and carefully remove the shower.
- Check the shower pan. If it is old, now is a good time to replace it along with the walls.
- Install the new shower according to the directions. Use caulk to secure the walls.
- Reconnect all the components just like before.
- Turn the water and pump on. Test the shower and all its functions. Check the other faucets in your RV just to make sure nothing was altered.
10. A Few Quick Tips
Everyone has their own idea of what the essential shower accessories are, so make a list of those you consider vital and bring them over. The key word here is essential as you don’t want to cram the shower with stuff you’re not going to use.
- To prevent bottles from flipping over while you drive, use a plastic pocket organizer. Not only does it keep your bathroom accessories clean but it’s also easy to wash.
- Use a liquid shampoo and soap dispenser rather than a bottles of shampoo or bars of soap. They are compact and won’t get knocked over like bottles. Just keep in mind these will need to get refilled the next time you are on a break.
- Be mindful of your supplies so you don’t run out while you’re in the middle of nowhere. Make sure that you’ve replenished your supplies before they run out.
- Set up a schedule for using the shower so no one us it after you clean it.
Showering in an RV becomes second nature when you’re used to it, and even that won’t take long. Once you get a taste of it, that should dispel the myths that RV shower system is uncomfortable. On the contrary it’s actually enjoyable.


Leave a Reply